

Getting Started
What You’ll Build
In this guide, you’ll create a workflow that:
Receives form submissions for customer feedback
Uses AI to analyze the sentiment and categorize the feedback
Routes high-priority feedback to notify the team
Creates a record in your system for all feedback
This covers the essential workflow patterns you’ll use in most automations.
Prerequisites
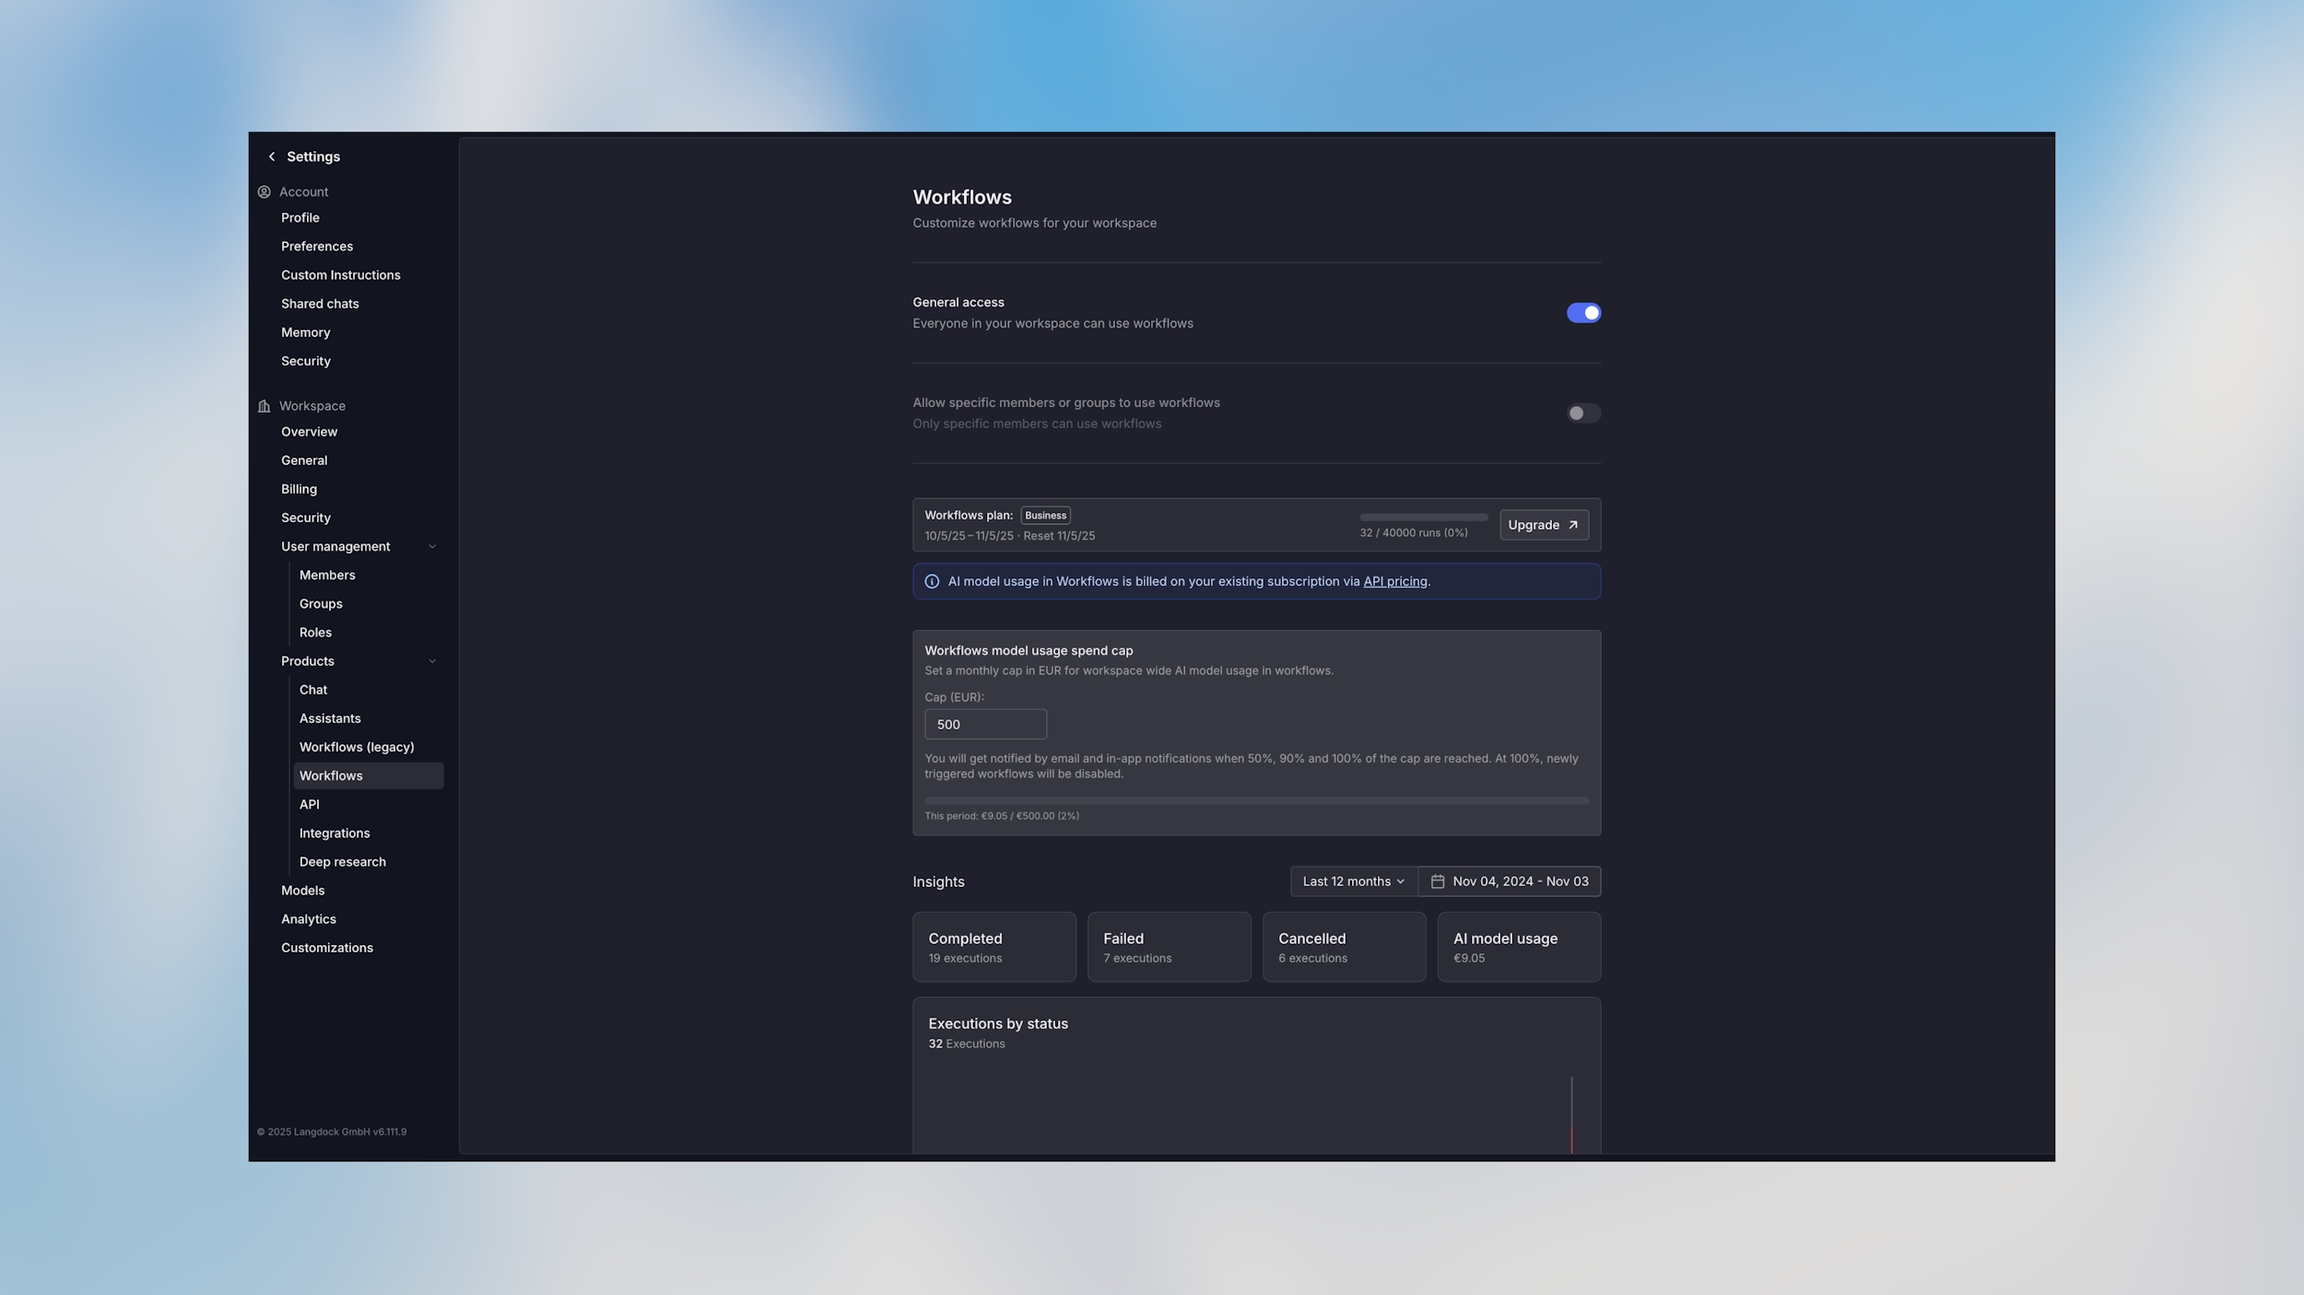
Your workspace admin enabled workflows in the workspace settings
Basic understanding of your use case and goals
Estimated time: 15 minutes to complete this tutorial
Step 1: Create a New Workflow
Navigate to the Workflows section and click Create Workflow.
Give your workflow a descriptive name: “Customer Feedback Processor”
Click Create
You’ll see a blank canvas with a starter node in the center. The starter node lets you choose how to begin your workflow. Let’s create a form trigger:
Click Form from the trigger options
The trigger node appears on the canvas
Configure the Form
Click on the trigger node to open the configuration panel:
Form Title: “Customer Feedback Form”
Add Form Fields:
Field 1:
name(Text, Required) — Label: “Your Name”Field 2:
email(Email, Required) — Label: “Email Address”Field 3:
feedback(Long Text, Required) — Label: “Your Feedback”Field 4:
product(Dropdown, Required) — Label: “Product”Options: “Mobile App”, “Web Platform”, “API”, “Other”
Form Settings:
Enable “Make this form public” to allow external submissions
Click Save
Configure the Agent
Click on the agent node and configure:
Name: “Analyze Feedback”
Agent Mode: Create new agent
Agent Name: “Feedback Analyzer”
Instructions:
Input: Add the feedback variable to the prompt
Model: Select your preferred model (e.g., GPT-4.1 or Claude Sonnet 4.5)
Enable Structured Output:
Click Add Output Field
Field 1:
sentiment(String) — “The sentiment of the feedback”Field 2:
category(String) — “The category of feedback”Field 3:
priority(String) — “Priority level: low, medium, or high”Field 4:
summary(String) — “One-sentence summary of the issue”
Click Save
Configure Conditions
Click Add Condition
Condition 1:
Name: “High Priority”
Mode: Manual
Expression:
{{agent.output.structured.priority === "high"}}
Click Add Condition again
Condition 2:
Name: “Normal Priority”
Mode: Manual
Expression:
{{agent.output.structured.priority != "high"}}(this catches everything else)
Each condition now has its own output handle on the right side of the node.
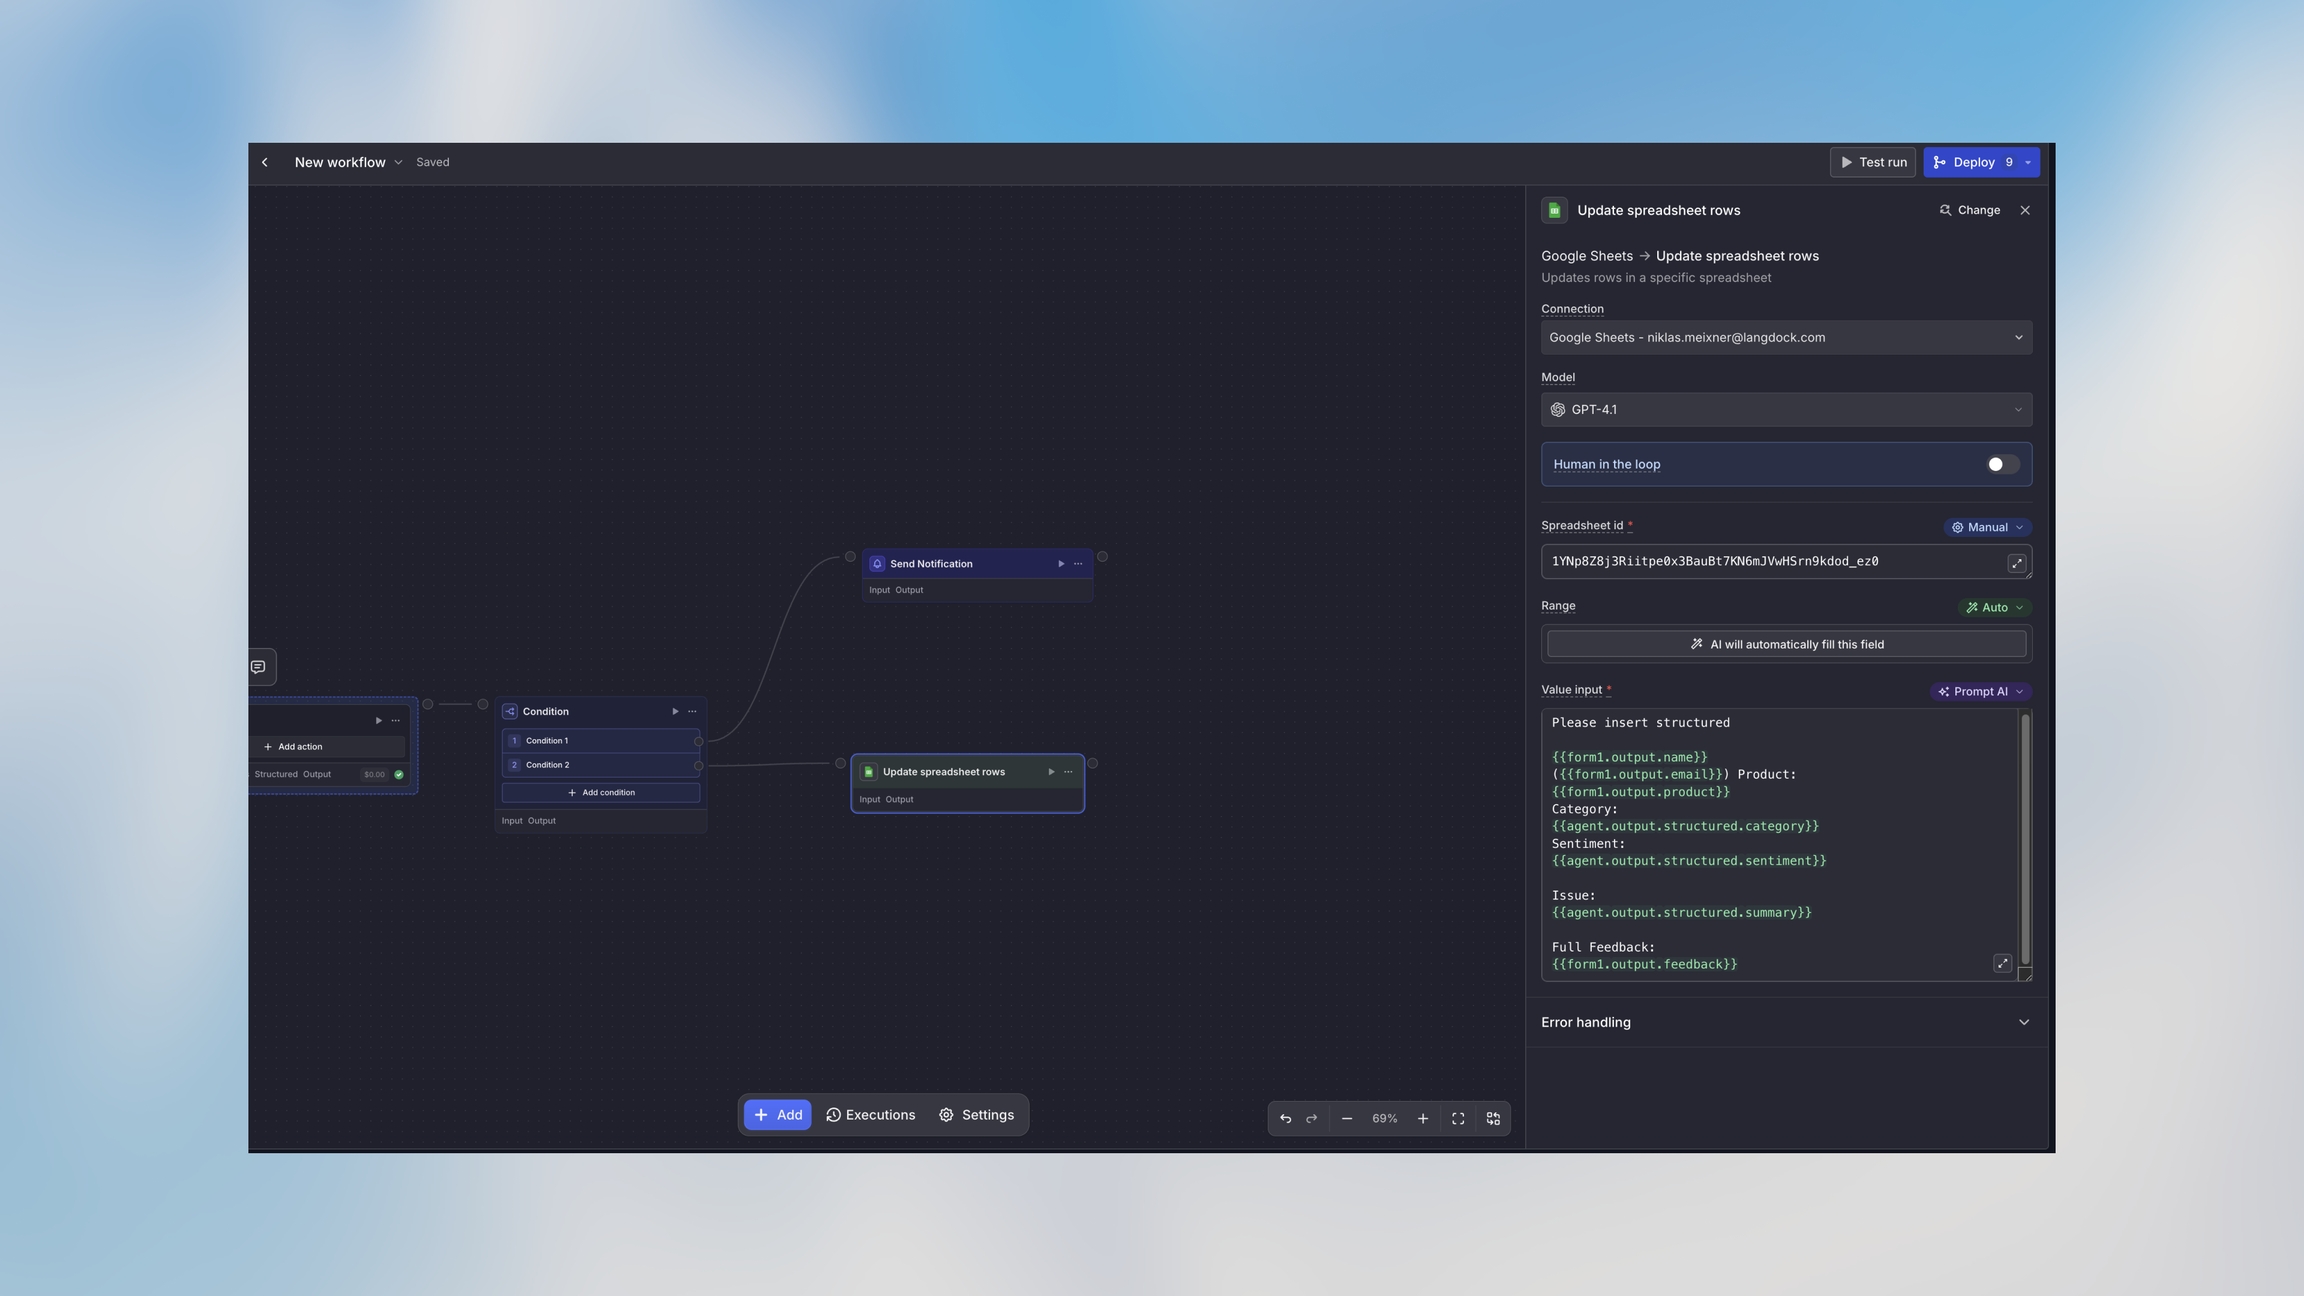
Configure the Google Sheets Node
SpreadsheetId: Insert your spreadsheetId
Range: You can leave this on auto.
Value Input: Set to “Prompt AI” and insert the following:
Click Save
Alternative: If you don’t have an API, you can use an integration action instead, like adding a row to Google Sheets or creating a Notion page.
Step 7: Test the Complete Workflow
Now test the entire workflow:
Click on the trigger node
Click the Test run button in the toolbar
Fill in the test form with sample data
Click Run workflow
Watch as each node executes in sequence
Click on nodes to view their inputs and outputs
Try testing with:
Different priority levels
Various types of feedback
Different products
Make sure both paths (high priority and normal priority) work correctly.
What You’ve Learned
Congratulations! You’ve built a complete workflow that demonstrates:
✅ Creating form triggers to capture data
✅ Using AI agents to analyze content
✅ Implementing conditional logic to route execution
✅ Sending notifications
✅ Integrating with external systems
✅ Testing and deploying workflows
Next Steps
Enhance This Workflow
Try adding:
A Code Node to calculate metrics or transform data
An Action Node to automatically create support tickets
Additional conditions for different priority levels
Explore Advanced Features
Cost Management — Control and optimize workflow costs
Common Questions
Get Help
Need assistance? We’re here to help:
Check the Core Concepts to understand workflow fundamentals
Review Variable Usage for advanced data handling
Contact support at [email protected]