Form Trigger

Overview
The Form Trigger creates a custom web form that starts your workflow when submitted. It’s perfect for collecting information from users — whether they’re internal team members or external customers — and automatically processing that data.
Best for: Intake forms, data collection, customer requests, feedback gathering, and application submissions.
When to Use Form Trigger
Perfect for:
Customer feedback or support request forms
Internal request forms (IT tickets, access requests)
Application or registration forms
Survey responses that need processing
Data collection from non-technical users
Not ideal for:
System-to-system integrations (use Webhook Trigger)
Scheduled recurring tasks (use Scheduled Trigger)
Processing existing data (use Manual Trigger)
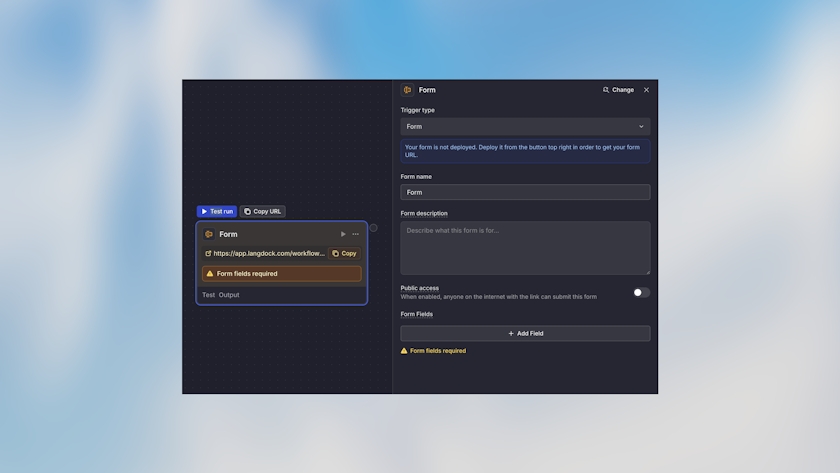
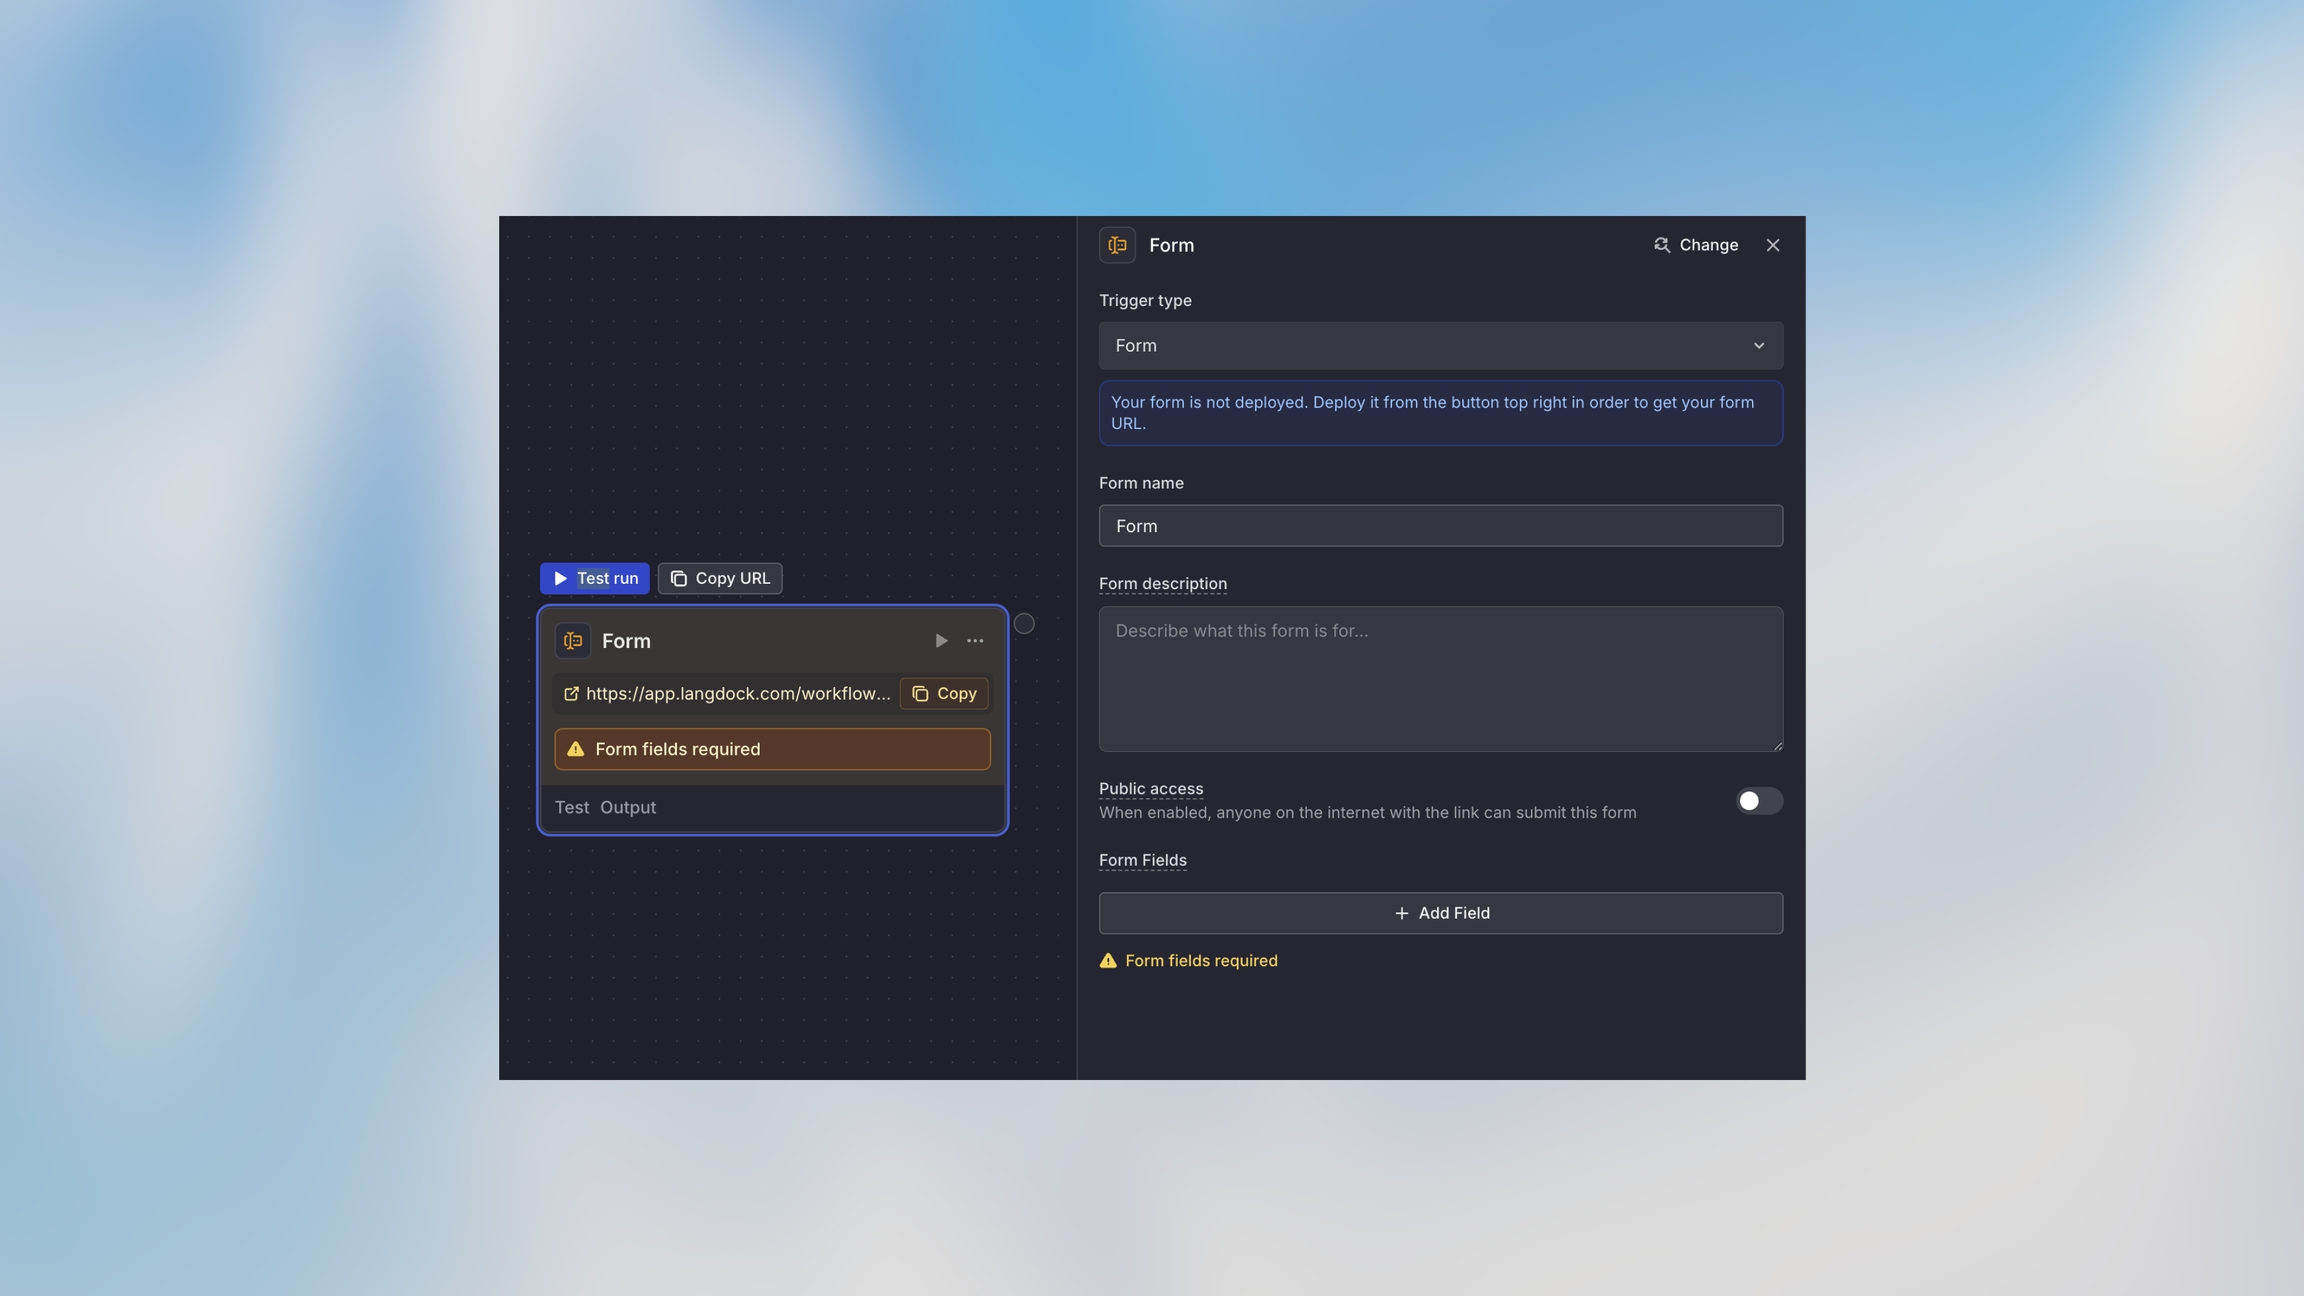
Configuration
Basic Setup
Field Types
Add fields to collect specific data:
Text
Single-line text input
Name, email, title
Long Text
Multi-line text area
Feedback, descriptions, comments
Number
Numeric input
Quantity, amount, rating
Email with validation
Contact information
Phone
Phone number input
Contact information
Date
Date picker
Due dates, event dates
Dropdown
Select from predefined options
Category, priority, department
Checkbox
True/false selection
Agreements, preferences
File Upload
Attachment upload
Documents, images, PDFs
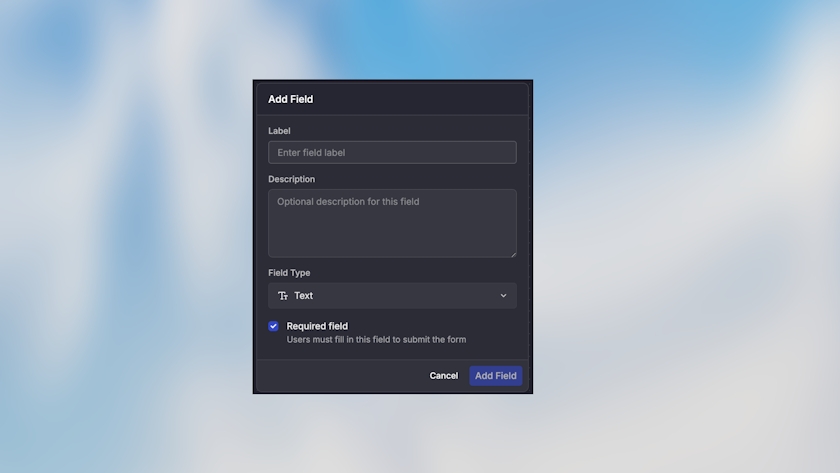
Field Configuration

For each field, configure:
Field Name: Internal identifier (use snake_case:
customer_name)Label: Display text shown to users
Description: Optional help text
Required: Whether the field must be filled
How It Works
Form URL is generated automatically.
User fills out the form fields.
Form validates all required fields and formats.
On submission, workflow starts with form data.
User sees the thank you message.
Form data is available in the workflow via {{form.field_name}}.
Example Use Cases
Customer Feedback Form
IT Support Request
Job Application
Accessing Form Data

Use the trigger variable to access submitted data:
File Uploads
For file upload fields, access the file metadata:
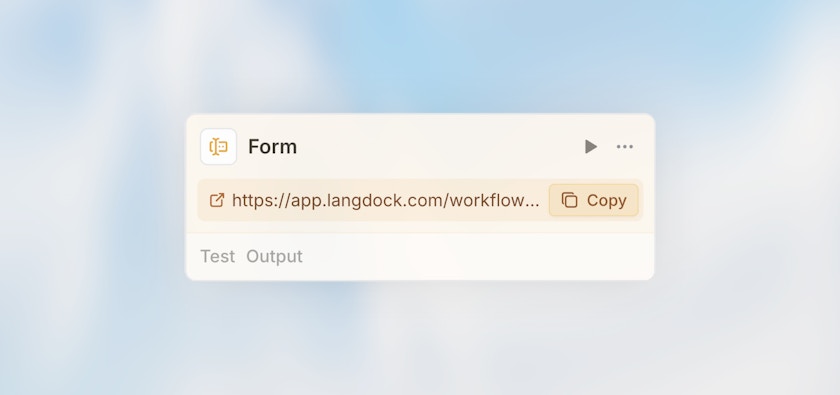
Sharing Your Form
Copy Form URL
Click on the Form Trigger node.
Click “Copy URL” in the node toolbar.
Share the URL via email, chat, or embed on your website.
The URL is publicly available when it was configured like that.
Embedding Options
Direct Link:
iFrame Embed:
Best Practices
Next Steps